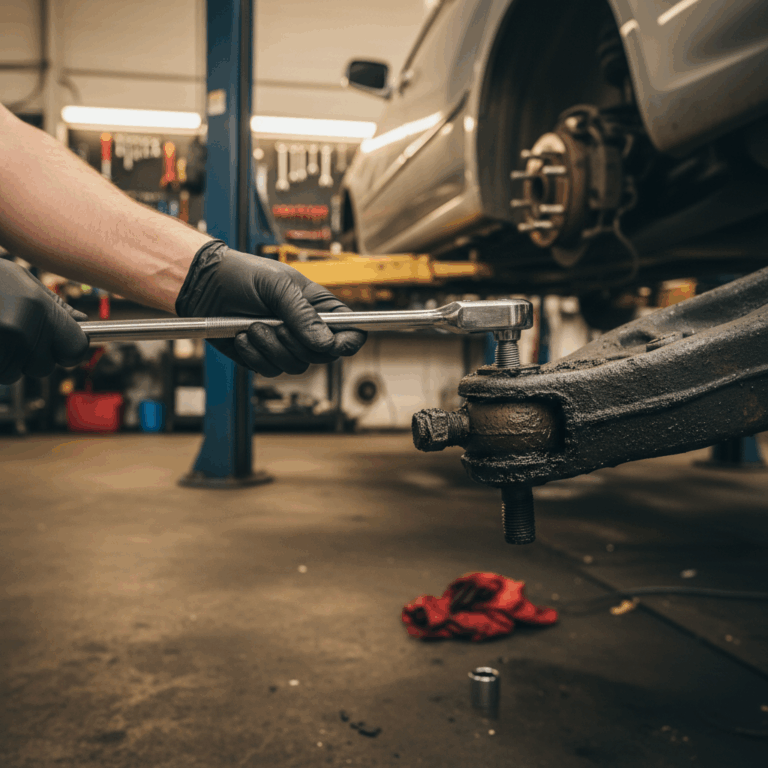
Lower control arm bolt torque specs vary by vehicle, but most passenger cars land between 75 and 130 ft-lbs on the frame (pivot) bolts and 30 to 55 ft-lbs on the ball joint pinch bolt. Trucks and full-size SUVs run higher, often 125 to 220 ft-lbs on the big mounting bolts. But I’ll tell you right now, the number on the wrench isn’t what people get wrong. It’s when they pull the trigger. You torque a lower control arm bolt with the suspension loaded, at ride height, not hanging in the air on a lift. Get that backwards and you’ll chew through a brand-new bushing inside a year. Six years at a Toyota and Lexus shop in Fullerton taught me that one the hard way.
A lower control arm bolt torque spec is just the rotational force, measured in foot-pounds, that holds the lower control arm to the frame and to the steering knuckle. Those fasteners go by a few names. The big ones threading into the frame or subframe are the pivot bolts, sometimes called the mounting bolts. The smaller one clamping the ball joint stud into the knuckle is the pinch bolt, though plenty of vehicles use a castle nut and cotter pin instead. Same job, different hardware.
Key Points to Review
- Most passenger-car lower control arm pivot bolts torque to 75 to 130 ft-lbs; trucks and large SUVs run 125 to 220 ft-lbs.
- Ball joint pinch bolts are far lighter, usually 30 to 55 ft-lbs. Castle nuts vary more, roughly 40 to 95 ft-lbs plus a cotter pin.
- Torque the pivot bolts with the suspension at ride height (vehicle weight on the wheels), not drooping on a lift. This is the step almost everybody blows.
- A lot of modern control arm bolts are torque-to-yield and meant for one-time use. Reuse one and it won’t hold clamp load.
- Specs are vehicle-specific. Use these ranges to sanity-check, then pull the exact number from your service manual before final tightening.
What Are Lower Control Arm Bolt Torque Specs?
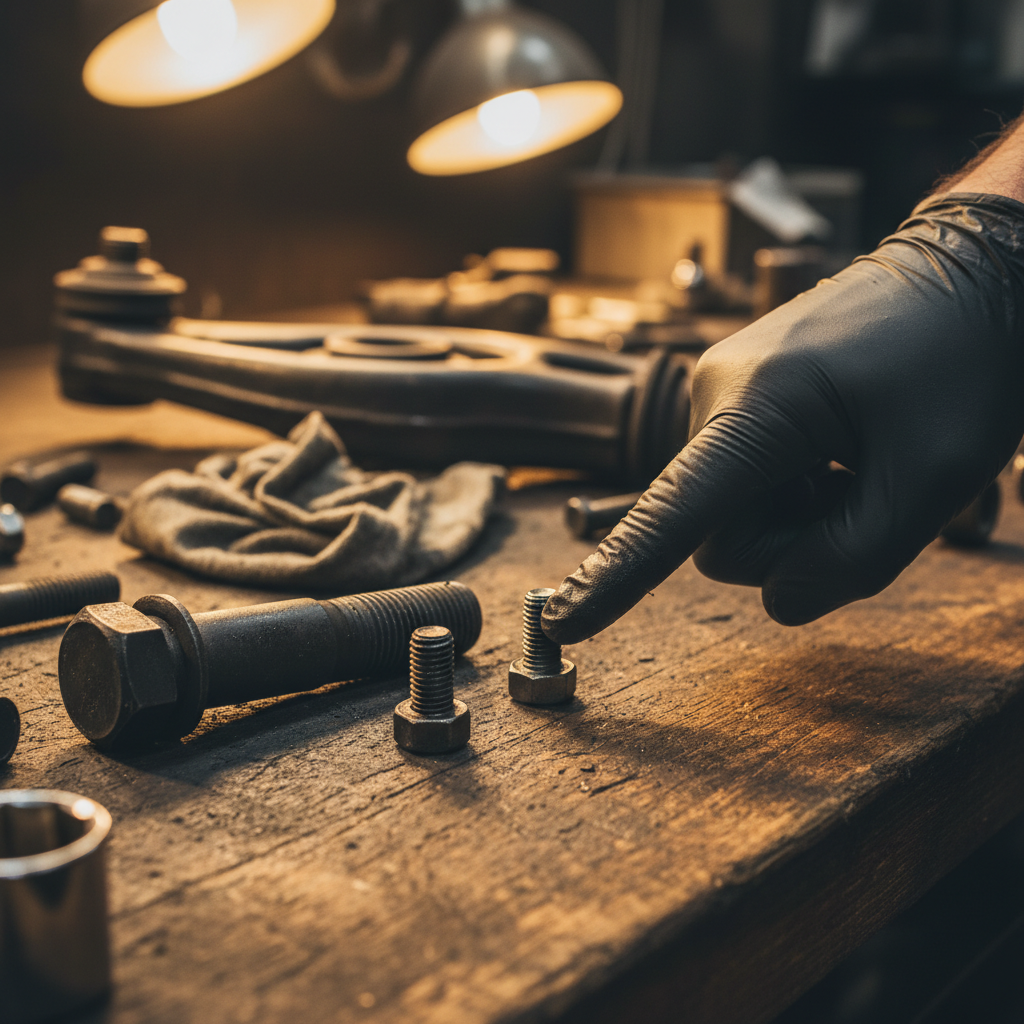
Lower control arm bolt torque specs are the manufacturer-set tightening values for every fastener that secures the lower control arm. The arm bolts to two places: the chassis side (frame, subframe, or cradle) through one or two pivot bolts, and the wheel side through the ball joint, which clamps into the steering knuckle. Each connection has its own spec, and they’re rarely the same number.
Here’s why I care about this more than most people do. A control arm carries cornering load, braking load, and every pothole you hit. The bolts don’t just hold parts together. They create clamp force that keeps the bushing sleeves and ball joint stud from moving under all that stress. Too loose and the joint walks, the bushing dies early, and you get a clunk. Too tight and you stretch the bolt past its yield point or crush the bushing. The spec is the narrow window between those two failures. I’ve watched people miss it on both ends.
The Bolts You’re Actually Torquing
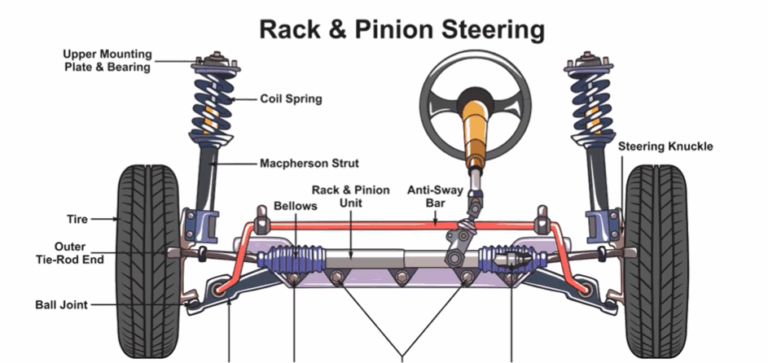
Before you go chasing a number, know which fastener you’re holding. A typical front lower control arm has two distinct torque points. Mix them up and somebody ends up putting a 120 ft-lb spec on a bolt that wanted 40. If you want a visual of where they sit on the arm, see the lower control arm diagram.
Frame (Pivot) Bolts
The pivot bolts are the heavy hardware. They thread the control arm into the frame, subframe, or engine cradle, and they carry the bulk of the load. On a unibody compact you’re usually looking at one big through-bolt at the front pivot and a bracket bolt or two at the rear. These are the bolts that want ride-height torque, because they pass through rubber bushings that take a set wherever the suspension is sitting when you tighten them. Had a 2015 Camry come in last year, customer paid a buddy to swap the arms in his driveway. Bolts cranked while the wheels hung. Three months later both front bushings were torn and the car was clunking over every expansion joint. Brand-new arms, dead in 90 days. That’s the pattern.
Ball Joint Pinch Bolt or Castle Nut
The wheel-side connection is lighter and more forgiving on timing, but it’s unforgiving on the number. A pinch bolt squeezes a slotted section of the knuckle around the ball joint stud, so it needs enough clamp to lock the taper without snapping the bolt. A castle nut, by contrast, pulls the tapered ball joint stud into the knuckle and then gets a cotter pin so it physically cannot back off. Never skip the cotter pin on a castle-nut setup. A ball joint that separates at speed drops the wheel, and worn or improperly secured suspension parts are something NHTSA flags among mechanical failures tied to loss of vehicle control. I don’t take chances with that one. Neither should you.
Common Lower Control Arm Torque Specs by Vehicle Type
These are representative ranges, not gospel. They’ll tell you if the number you found online is in the right ballpark or way off. They will not replace your service manual, because a 2012 Civic and a 2012 F-250 live in completely different worlds.
| Vehicle class | Frame / pivot bolts | Ball joint pinch bolt | Ball joint castle nut |
|---|---|---|---|
| Compact car (Civic, Corolla, Mazda 3) | 74 to 105 ft-lbs | 30 to 45 ft-lbs | 40 to 60 ft-lbs |
| Midsize sedan (Accord, Camry, Altima) | 80 to 125 ft-lbs | 35 to 55 ft-lbs | 45 to 80 ft-lbs |
| Half-ton truck / large SUV (Silverado, F-150, Tahoe) | 125 to 221 ft-lbs | 40 to 55 ft-lbs | 74 to 95 ft-lbs |
| Compact SUV / crossover (RAV4, CR-V, Equinox) | 85 to 140 ft-lbs | 35 to 50 ft-lbs | 50 to 85 ft-lbs |
Notice how tight the ball joint range stays across every class while the pivot bolts climb hard on trucks. That’s not random. The pivot bolt has to resist a much bigger lever arm on a heavier vehicle. The pinch bolt only has to lock a taper, and a taper doesn’t care how big your truck is.
Why You Torque Control Arm Bolts Under Load
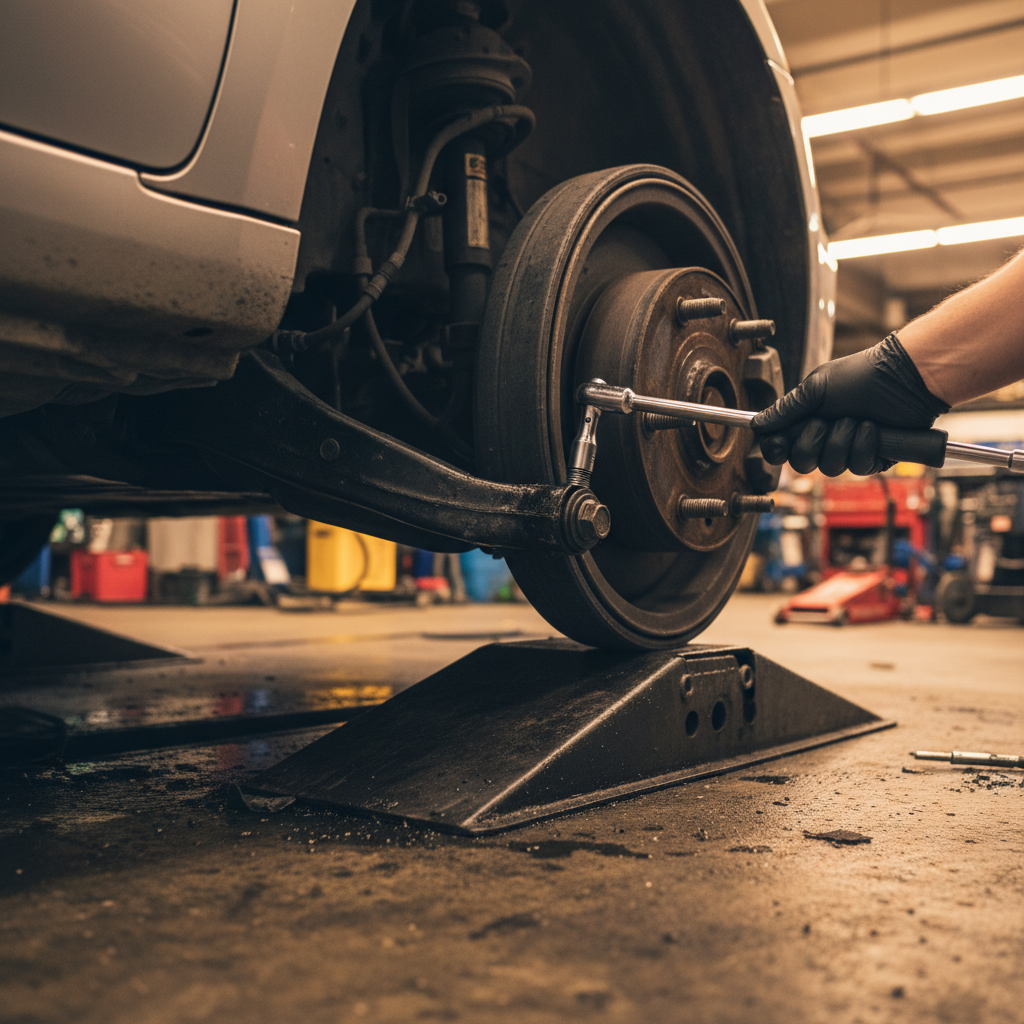
You torque the pivot bolts at ride height because the bushing rubber is bonded to both the inner sleeve and the outer shell. When you tighten the through-bolt, you lock the inner sleeve to the frame at whatever angle the arm is sitting. Tighten it on a lift with the wheel hanging, and that bushing is now permanently twisted toward full droop. Every time the suspension comes up to normal ride height, the rubber fights that preload. It works against itself all day, every mile. That’s the early death right there.
So how do you do it right? Get the arm in, thread the pivot bolts, and snug them just enough to hold position. Then lower the car onto its wheels, or onto ramps or drive-on stands so you can still reach the bolts, and do the final torque with the weight settled. I run mobile in Orange now, so half my control arm jobs happen in a driveway. When I can’t get the wheels down, I put a floor jack under the ball joint and load the suspension to roughly ride height that way. Same idea. Rubber bushings get their final torque loaded, period. Solid or spherical bushings don’t care, but if there’s rubber in there, this rule is the whole ballgame.
Torque-to-Yield Bolts: When You Can’t Reuse Them
A torque-to-yield bolt is designed to stretch slightly past its elastic limit when you torque it, which gives a very consistent clamp load. The catch is that once it’s stretched, it’s done. Reuse it and it can yield further at a lower torque, which means it won’t hold the clamp force the joint needs. A lot of newer control arm pivot bolts and most axle and ball joint fasteners on modern cars are torque-to-yield.
How do you know? The service manual will list a torque-plus-angle spec, something like “80 ft-lbs then turn 90 degrees.” That angle step is the tell. See it, replace the bolt. Don’t argue with it. Detroit Axle includes the correct hardware with many control arm assemblies, so you’re not standing at the dealer parts counter the morning of the job hunting for one bolt. And don’t try to eyeball the angle. The torque-angle method exists precisely because the final number is hard to measure directly. Engineering torque standards like those published by SAE International spell out why angle-tightening gives more repeatable clamp load than torque alone.
Tools and How to Get It Right
You need a real click-type or digital torque wrench, and honestly you want two: a 3/8-inch for the lighter pinch bolts and a 1/2-inch for the big pivot bolts that run past 150 ft-lbs. A 3/8 wrench topped out at 80 ft-lbs has no business anywhere near a truck control arm bolt. And no, the $20 Harbor Freight clicker is not the same tool as a CDI or a Tekton. I’ve watched cheap wrenches read 100 ft-lbs and actually pull 130. Buy once, cry once.
- 1/2-inch drive torque wrench rated to at least 250 ft-lbs for pivot and castle-nut work on trucks.
- 3/8-inch drive torque wrench in the 15 to 75 ft-lb range for pinch bolts.
- Breaker bar for the initial loosening, so you’re not abusing the torque wrench.
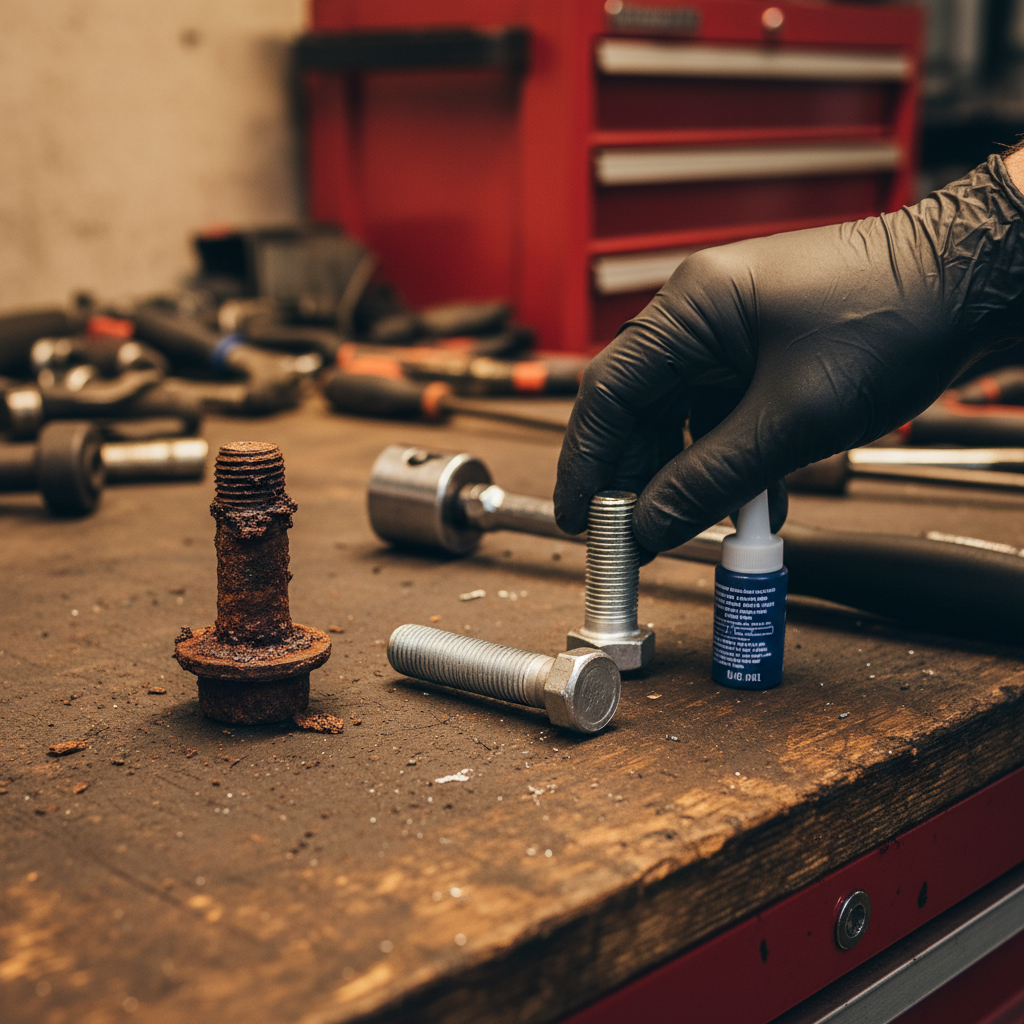
- Thread locker only if the manual calls for it. Some control arm bolts use it from the factory; some explicitly don’t. Don’t add it where it doesn’t belong.
- New torque-to-yield bolts if your spec includes an angle step.
One habit that saves headaches: snug everything, lower to ride height, then final-torque in the order the manual lists. No listed sequence? Do the frame pivots first and the ball joint last. That keeps the arm from getting pulled into a bind before it’s seated where it belongs. If you want the full procedure these specs plug into, here’s how to replace a lower control arm start to finish.
Common Mistakes to Avoid
This is where almost every failure I get called back for comes from, and hardly any of it is about the torque number itself.
- Final-torquing on the lift. The big one. Rubber bushings tightened at full droop fail early, every single time. I’ve pulled arms with under 25,000 miles on them where the bushing was already separating, and it traced straight back to this.
- Reusing a torque-to-yield bolt. It might feel tight in your hand. It won’t hold the right clamp load. Replace it.
- Skipping the cotter pin on a castle nut. The nut backs off, the ball joint separates, and now a wheel is folding under the car. Not worth the ten-cent part you saved.
- Guessing the spec off a different model year. A 2008 Accord and a 2013 Accord can run different bolts. Match the exact year and trim.
- Using an impact gun for final torque. An impact gets you to nothing useful. Either under-shoots or strips. Buzz it snug if you want, but the last pull is the torque wrench’s job.
And if a number you find online doesn’t match your service manual, the manual wins. Always. Forums are full of confident wrong answers, and some stranger’s “I always just do 100 ft-lbs” is not a torque spec.
FAQs
What is the torque spec for a lower control arm bolt?
The torque spec for a lower control arm bolt depends on the vehicle, but most passenger-car pivot (frame) bolts fall between 75 and 130 ft-lbs, while ball joint pinch bolts run 30 to 55 ft-lbs. Trucks and large SUVs push the pivot bolts to 125 to 220 ft-lbs. Always confirm the exact figure in your vehicle’s service manual, because the same model can change specs between years.
Do lower control arm bolts need to be torqued under load?
Lower control arm pivot bolts that pass through rubber bushings should be torqued under load, meaning at ride height with the vehicle’s weight on the wheels. Tightening them while the suspension hangs at full droop locks a twist into the bushing that makes it fail prematurely. The ball joint pinch bolt does not need ride-height torque, since it clamps a metal taper rather than a rubber bushing.
Can I reuse lower control arm bolts?
You can reuse lower control arm bolts only if they are standard (non-yield) fasteners; torque-to-yield bolts must be replaced. The giveaway is the torque spec itself: if it includes an angle step like “torque to 80 ft-lbs, then turn 90 degrees,” the bolt is torque-to-yield and is designed for one use. Reusing it risks a fastener that yields early and loses clamp force.
What happens if control arm bolts aren’t torqued correctly?
If control arm bolts aren’t torqued correctly, you get one of two failures. Under-torqued, the joint moves under load, which destroys the bushing, causes clunking, and can eventually let a fastener back out. Over-torqued, you can stretch the bolt past its limit or crush the bushing, which also shortens its life. Both ends of the mistake end with a part wearing out long before it should.