
How to Replace a Lower Control Arm (Step-by-Step DIY Guide)
·By Lawrence Ma

Replacing a lower control arm is a solid intermediate DIY job. If you can run a socket set, separate a ball joint, and you own a torque wrench, you can knock this out in your driveway in about 1.5 to 3 hours per side. The work itself is straightforward: drop the wheel, separate the ball joint, pull the sway bar link, back out the pivot bolts, swap the arm, torque everything with the suspension loaded. The two things that bite people are rusted hardware and skipping the alignment after. I've been burned by the first plenty of times, and I've watched customers pay for skipping the second.
A lower control arm replacement means pulling the A-shaped suspension link that ties the steering knuckle to the frame and bolting in a new one, bushings and ball joint included. On most vehicles you'll buy a complete arm assembly with the ball joint and bushings already pressed in, which is the easy way. The hard way is pressing new bushings into an old arm, and unless you're keeping a performance arm, I don't bother.
Key Points to Review
- Plan on 1.5 to 3 hours per side for an intermediate DIYer; rusted hardware is the main time-sink.
- Buy a complete control arm assembly with the ball joint and bushings installed. Faster, and you skip the bushing press.
- You'll need a ball joint separator (pickle fork or press), a breaker bar, and a torque wrench. An impact gun helps but isn't required.
- Torque the pivot bolts at ride height, not on the lift. This is the step that decides how long your new bushings last.
- An alignment is mandatory after this job. Replacing a control arm changes camber and caster.
DIY vs. Professional Repair
This job is DIY-friendly on most cars, but it's not for everyone or every vehicle. Be honest with yourself about three things before you start: your tools, your driveway, and your rust.
If you're working on a compact or midsize car that's lived in a dry climate, this is a clean afternoon. Hondas and Toyotas in particular come apart nice. But a lifted truck or anything out of the salt states is a different animal. Back when I was at the shop in Fullerton we'd get Silverados where the pinch bolt was so rusted it took a Sawzall, and four hours in we were still on the first side. If your bolts look like they grew out of the frame, plan on penetrating oil, heat, and patience, or just hand it to a shop. A pro also has the press and separator tools sitting right there, and they'll do the alignment in-house. Doing it yourself saves the labor, which is the bulk of the lower control arm replacement cost, but you still owe the car an alignment afterward.
Tools and Supplies Needed
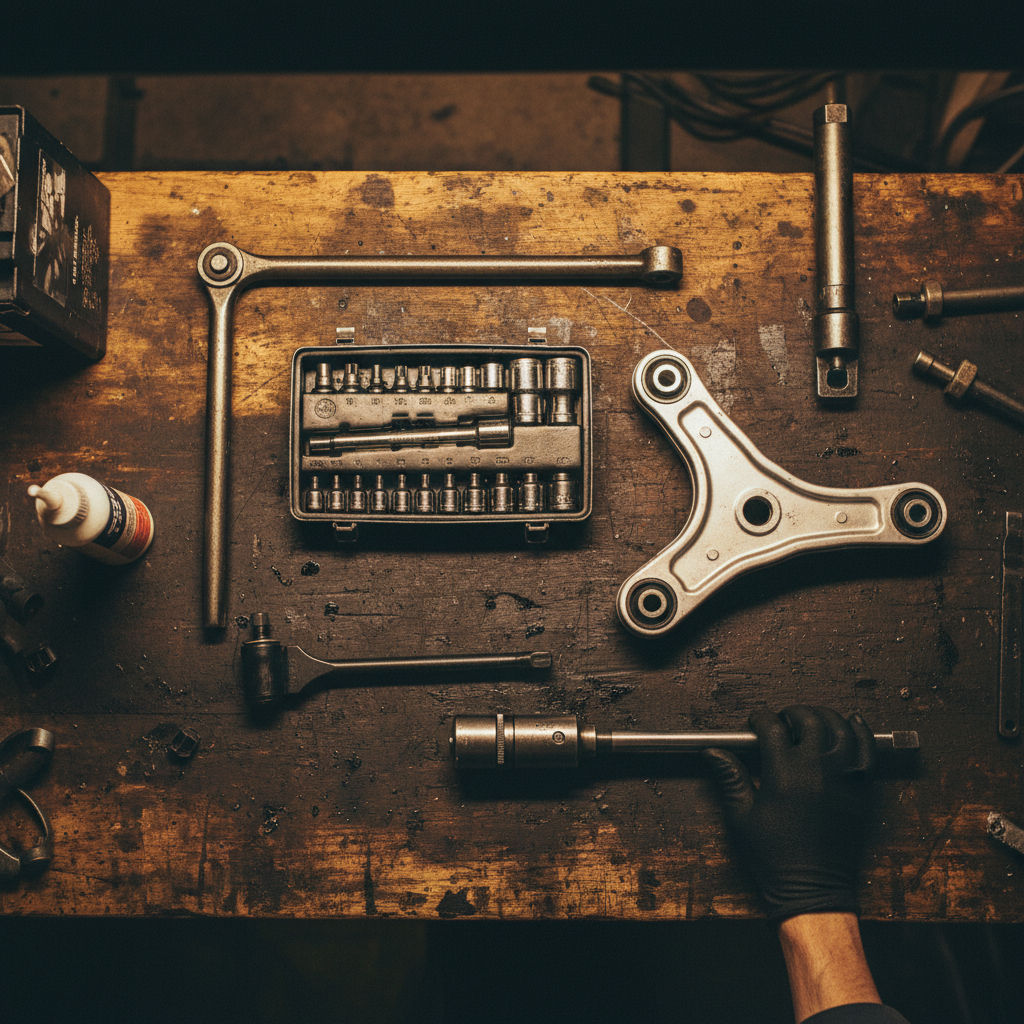
Get everything staged before you lift the car. Nothing kills a Saturday like finding out you don't own the right ball joint separator with the wheel already off and the part in your hand.
- Floor jack and two jack stands rated above your vehicle's weight. NEVER work under a car held by a jack alone.
- Socket set and wrenches, metric and standard, with deep sockets for the pivot bolts.
- Breaker bar for the initial crack on seized bolts.
- Ball joint separator (a pickle fork, or better, a press-style separator that won't tear the boot if you're reusing parts).
- Torque wrench, ideally a 1/2-inch drive that reaches past 150 ft-lbs for the pivot bolts. Check my lower control arm torque specs guide for the numbers your vehicle wants.
- Penetrating oil and a propane or MAP torch for rusted hardware.
- New control arm assembly (complete control arm assemblies ship with the bushings and ball joint pressed in), and new pivot bolts if your spec is torque-to-yield.
- Cotter pins if your ball joint uses a castle nut.
- Optional but smart: new sway bar links if yours are clunking. You're already in there.
Step-by-Step: How to Replace a Lower Control Arm
The order matters. Disconnect from the wheel side first, then the frame side, so the arm isn't fighting you while it's still loaded. Here's the sequence I use on the vast majority of front lower control arms.
Step 1: Lift and Secure the Vehicle
Loosen the lug nuts a quarter turn while the wheel is still on the ground, then lift the front of the car and set it on jack stands. Pull the wheel. Give yourself room and good light. This is suspension work, and a car coming off a jack here lands on you, so the stands are not optional. I don't care how quick you think the job is.
Step 2: Disconnect the Sway Bar Link
Unbolt the sway bar end link from the control arm. It's usually a single nut, though it'll often just spin the stud, so hold the back with a wrench or grab the flats with pliers. If the end link is shot anyway, swap it now. You'll never have a better moment.
Step 3: Separate the Lower Ball Joint
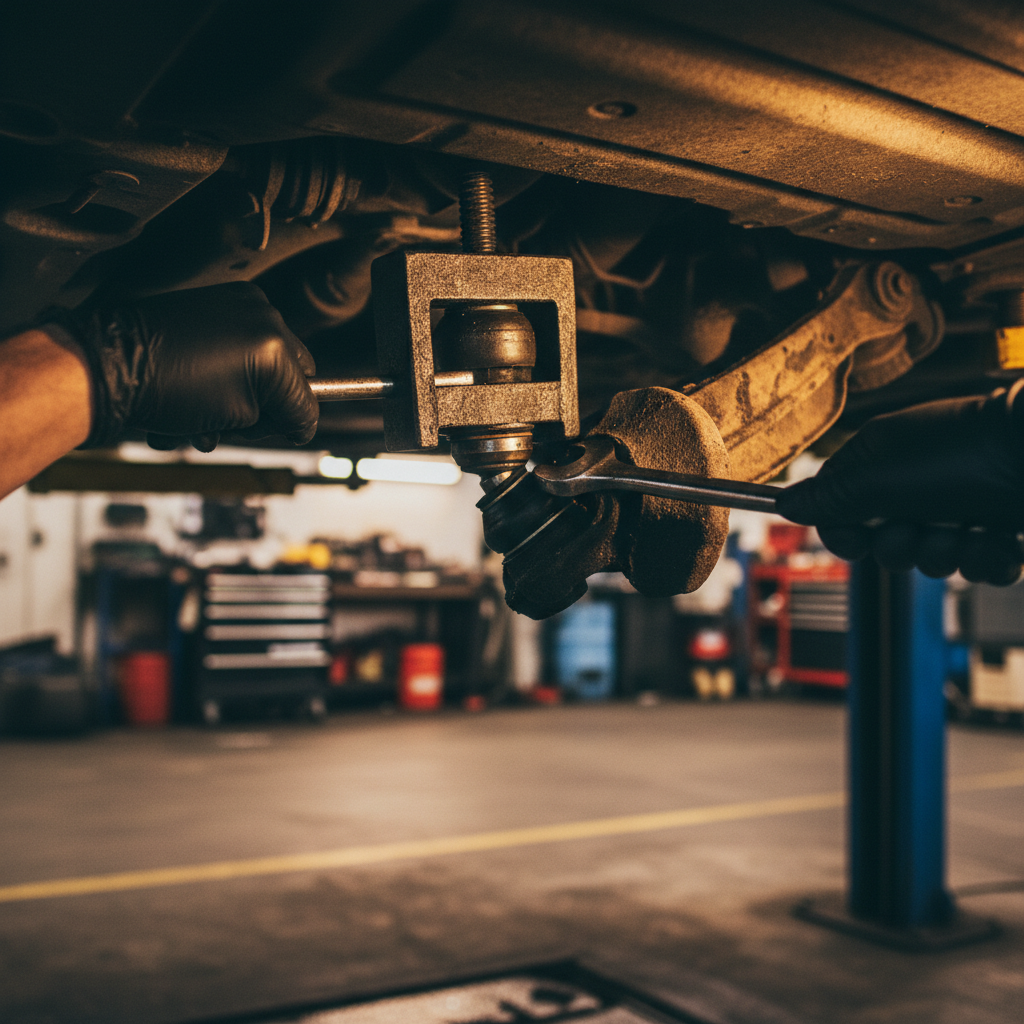
This is the step people dread, and honestly it's not that bad. Remove the cotter pin and back off the castle nut (or pull the pinch bolt, depending on your setup), then separate the ball joint stud from the steering knuckle. A press-style separator is cleaner than a pickle fork, which tends to tear the boot. If you're installing a new arm with a new joint, a pickle fork is fine since the old boot is headed for the trash anyway. The lower control arm ball joint can be stubborn. A few sharp raps on the knuckle with a hammer to shock the taper loose usually does more than leaning on the separator until something gives.
Step 4: Remove the Pivot Bolts
Now the frame side. Soak the pivot bolts in penetrating oil, give it a few minutes, then break them loose with a breaker bar. These are the big bolts and they're often torqued past 100 ft-lbs from the factory, so they won't come easy. On a rusty vehicle, heat is your friend. Support the arm as you pull the last bolt so it doesn't drop on your face.
Step 5: Install the New Control Arm
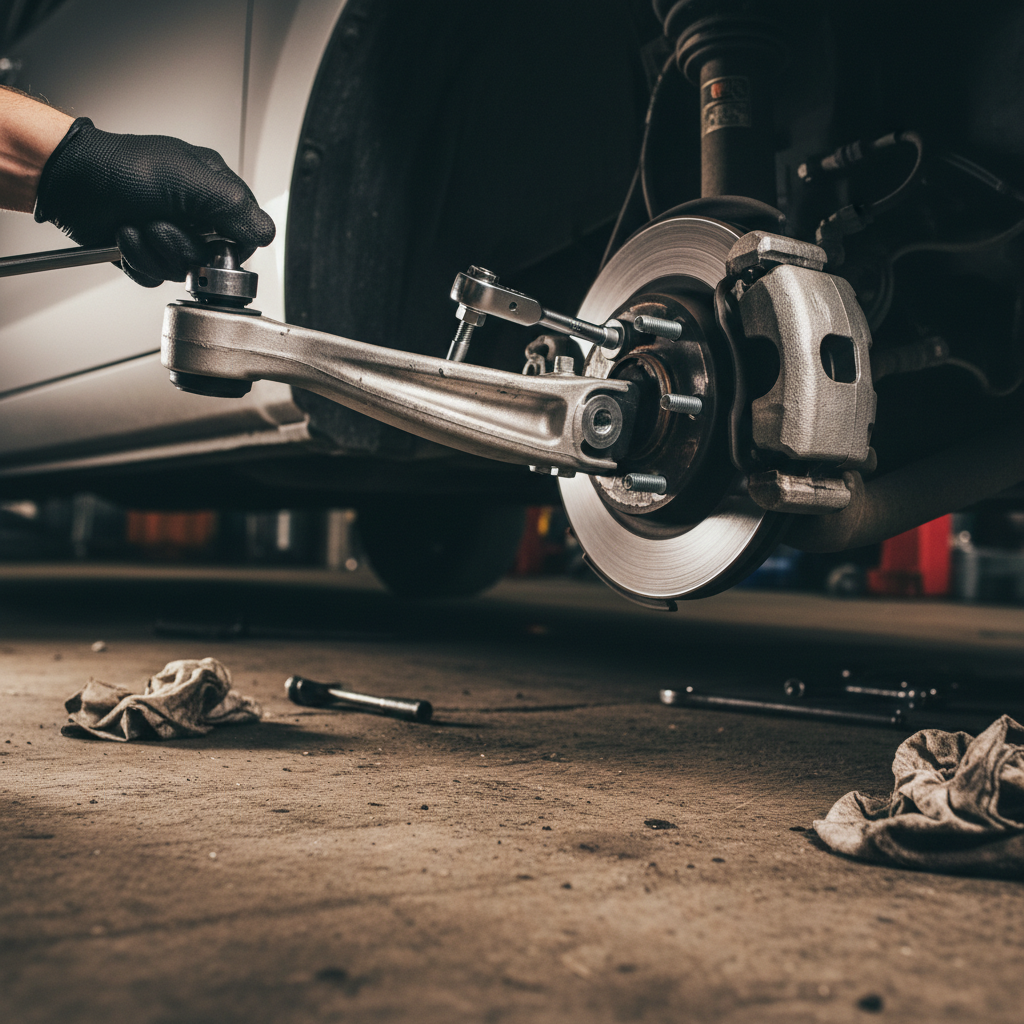
Set the new arm in place and thread the pivot bolts by hand first, snugging them just enough to hold the arm in position without locking it. Reconnect the ball joint to the knuckle and start its nut. Reattach the sway bar link. Do not do your final torque yet. Everything is hand-snug at this stage, and I mean everything.
Step 6: Torque Everything at Ride Height
This is the step that separates a job that lasts from one that comes back. Lower the car until the suspension is loaded at normal ride height, either back on the ground or on drive-on ramps so you can still reach the bolts. NOW do your final torque on the pivot bolts. Tightening rubber-bushed pivot bolts while the suspension hangs locks a permanent twist into the bushing, and it'll tear within a year. For more on how those lower control arm bushings fail and the warning signs to catch them early, that's the deeper dive. Had a guy come in with a Camry, a year after a driveway arm swap, bushing cooked. He'd torqued it on the jack stands. I've seen it too many times to soft-pedal it. Torque the ball joint nut to spec and install a new cotter pin. Reinstall the wheel and torque the lugs.
Step 7: Get an Alignment
Replacing a control arm moves your camber and caster, so an alignment isn't optional, it's part of the job. Skip it and you'll scrub your new tires into uneven wear within a few thousand miles. I've seen people save a hundred bucks on the alignment and burn through a set of tires. Proper alignment also keeps the car tracking straight and stopping evenly, which is part of why routine alignment checks show up in the Car Care Council's maintenance guidance. Drive straight to the alignment rack.
Front vs. Rear Lower Control Arms
Front and rear lower control arms come apart differently, and it's worth knowing which you've got before you start. Front lower arms carry the steering knuckle and the lower ball joint, so the ball joint separation in Step 3 is the defining task. Rear lower control arms, common on independent rear suspensions, usually bolt at both ends without a ball joint, which makes them simpler, but they can hide a toe or camber adjustment bolt that you have to mark before removal or the alignment turns into a guessing game. If you're working on the rear, mark the position of any eccentric bolts with a paint pen before you touch them. Learned that one the hard way.
Common Mistakes to Avoid
Almost every control arm job that comes back to bite somebody traces to one of these.
- Final-torquing on the lift. The number one mistake. Loaded torque on rubber bushings, every time, or you're buying another arm next year.
- Skipping the alignment. Your tires pay for this one. It's not optional after a control arm.
- Reusing torque-to-yield bolts. If your spec has an angle step, the bolt is one-time use. Replace it.
- Tearing the ball joint boot with a pickle fork when you meant to reuse the joint. Use a press separator if the part's staying.
- Forgetting the cotter pin on a castle nut. The nut backs off, the joint can separate, and a separated ball joint is exactly the kind of suspension failure NHTSA links to loss of vehicle control. That's a wheel folding under the car.
- Fighting rusted bolts dry. Penetrating oil and heat save bolts. Brute force snaps them, and a snapped pivot bolt buried in the frame turns a 2-hour job into a weekend.
How Long Does It Take?
For an intermediate DIYer on a clean car, budget 1.5 to 2 hours per side. First-timer should plan on closer to 3 hours for the first one, then noticeably faster on the second since you've learned the car by then. A pro shop does this in about an hour a side. Rust is the wild card. A salt-belt truck with seized hardware can blow past all of these, which is exactly why I tell people to soak the bolts the night before if they can get to them. Add 30 to 45 minutes for the alignment, which most people farm out to a shop anyway.
FAQs
Can I replace a lower control arm myself?
You can replace a lower control arm yourself if you have basic mechanical skills, a ball joint separator, and a torque wrench, and the job runs about 1.5 to 3 hours per side. The biggest variables are rust and whether your vehicle uses torque-to-yield bolts that need replacing. The one part you should not skip is the alignment afterward, which most DIYers have a shop perform.
Do I need an alignment after replacing a lower control arm?
You need an alignment after replacing a lower control arm because removing the arm changes the camber and caster angles that keep your tires sitting flat on the road. Skipping it leads to rapid, uneven tire wear and a car that may pull to one side. Have the alignment done the same day if possible, before the new tires take any damage.
How long does it take to replace a lower control arm?
Replacing a lower control arm takes about 1.5 to 3 hours per side for a DIYer, or roughly an hour per side for a professional shop. A first-timer should plan for the higher end, and rusted hardware on older or salt-belt vehicles can add significant time. The second side always goes faster once you know how that specific vehicle comes apart.
Should I replace the control arm or just the bushings?
You should usually replace the complete control arm assembly rather than just the bushings, because a new arm comes with fresh bushings and a new ball joint already installed, saving you a bushing press and a second job later. Replacing only the bushings makes sense mainly on a performance or specialty arm you want to keep. For a standard daily driver, a complete assembly is faster and often costs about the same once you factor in press time.