Replacing a rack and pinion (steering rack assembly) restores proper steering control when the original unit becomes worn, loose, or starts leaking.
While experienced DIY mechanics can complete this repair, it requires proper tools, careful handling of steering components, and a wheel alignment after installation. If you’re unfamiliar with the component itself, it helps to first understand what a rack and pinion system is and how it works.
Key Points to Review
This guide covers:
- Tools required for rack replacement
- Step-by-step removal process
- Installation tips
- Common mistakes to avoid
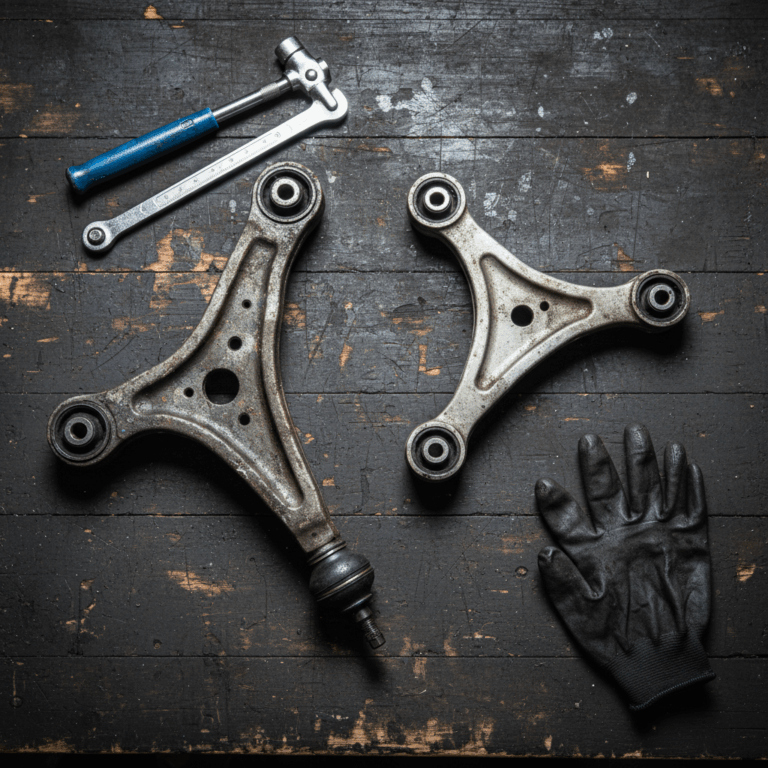
Tools and Supplies Needed
Replacing a rack and pinion requires standard tools plus a few specialized items for safe removal and installation.
Typical tools include:
- Jack and jack stands
- Socket set
- Tie rod puller
- Torque wrench
- Power steering fluid
A tie rod puller and penetrating oil frequently make the largest difference in real-world repairs, particularly when working with seized or rusty components.
Step-by-Step Replacement Process
Replacing a rack and pinion involves removing the old unit and installing a new one in five main steps.
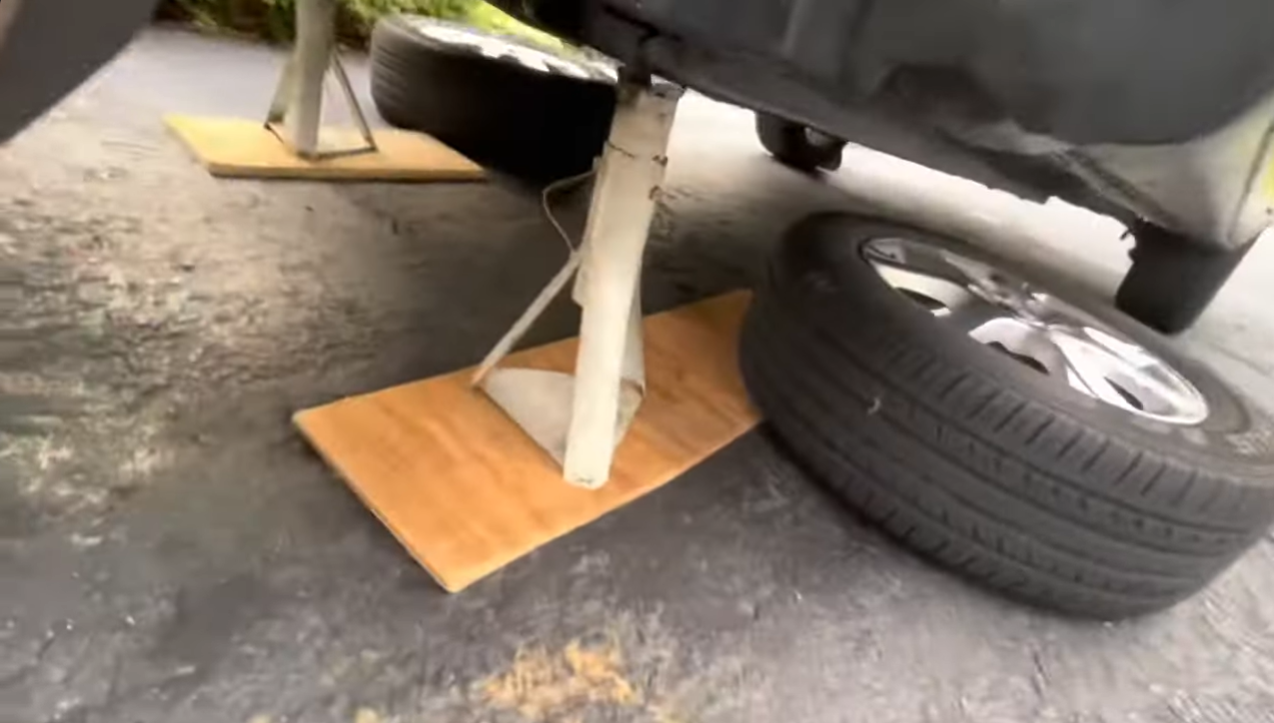
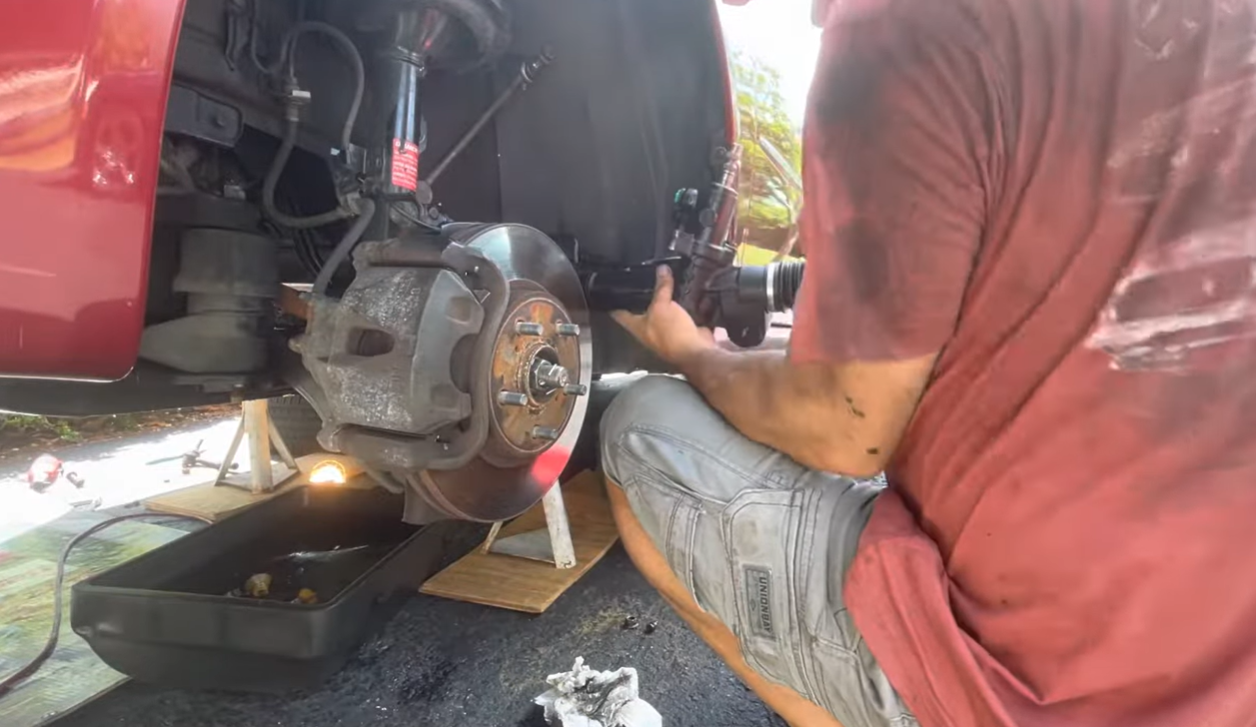
1. Raise and Secure the Vehicle
Using a jack, raise the front of the car and fasten it with jack stands. To get to the steering parts, remove the front wheels.
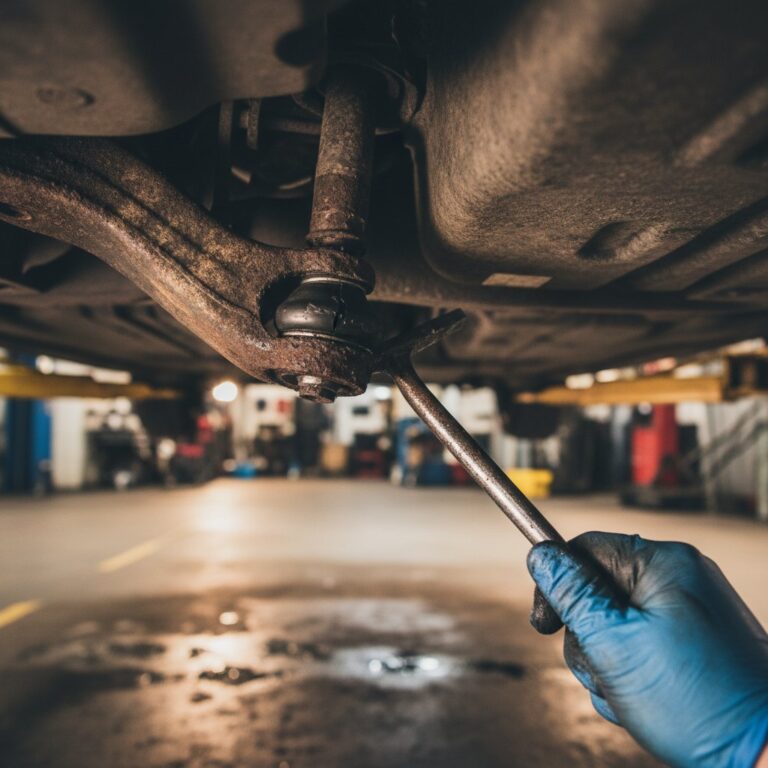
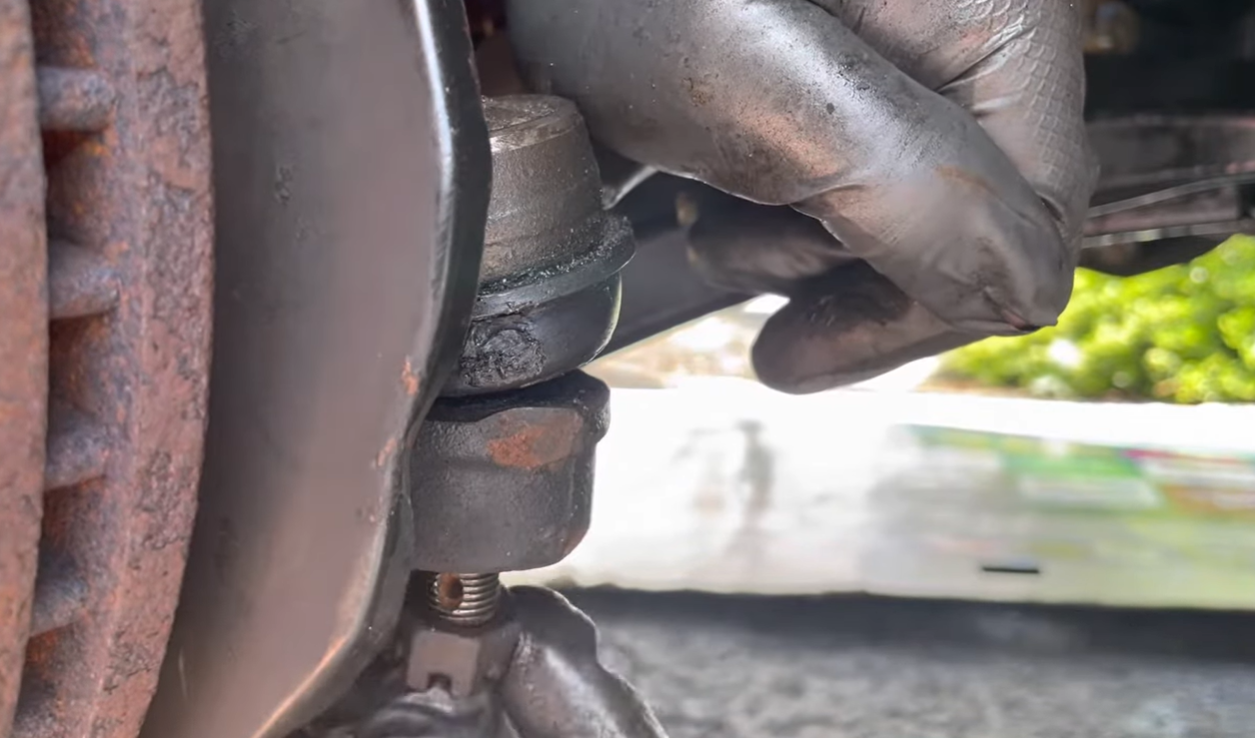
2. Disconnect Tie Rods
Using a tie rod puller, remove the outer tie rods from the steering knuckles.
Advice: To ensure a close alignment during reinstallation, count the number of turns when removing the tie rods.
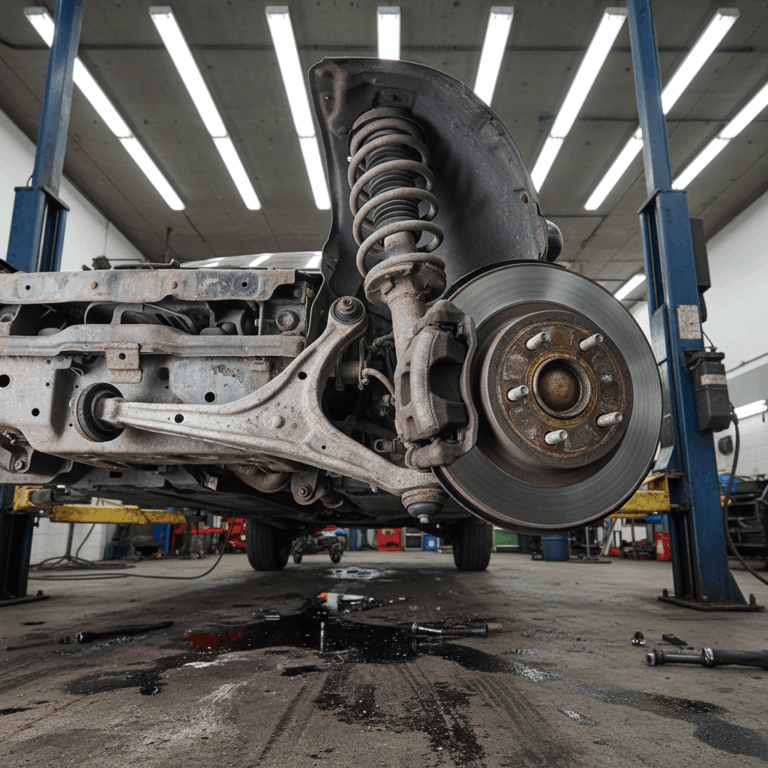
3. Remove Steering Rack Mounting Bolts
Find the rack assembly and take off the bolts holding it to the subframe.
Access may be restricted, and it may be necessary to remove surrounding components, depending on the vehicle.

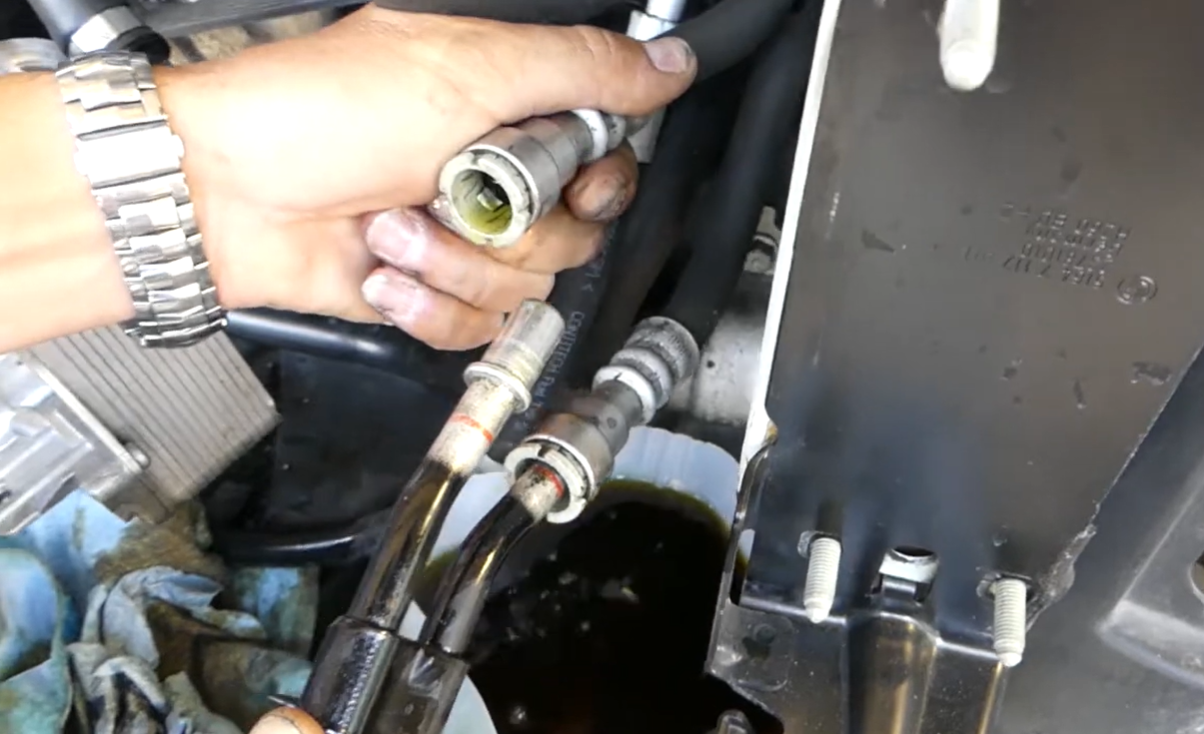
4. Disconnect Hydraulic or Electrical Connections
Disconnect:
- Power steering fluid lines (hydraulic systems)
- Electrical connectors (electric power steering systems)
When disconnecting hydraulic lines, be ready for fluid drainage.
5. Install the New Rack Assembly
After positioning the new rack, fasten it using mounting bolts. Reconnect:
- Tie rods
- Hydraulic lines or electrical connections
After installation:
- Refill power steering fluid
- Bleed the system by turning the wheel lock-to-lock
- Perform a wheel alignment
If you’re evaluating the cost of this repair, it’s helpful to review typical rack and pinion replacement cost and labor estimates before scheduling a replacement.
Torque Specs and Safety Callouts
Torque specs matter more on this job than most suspension repairs. Rack mounting bolts typically land between 60 and 85 ft-lbs depending on vehicle. Tie rod end jam nuts hold at 40 to 55 ft-lbs, and the outer tie rod castle nut itself runs 35 to 50 ft-lbs with a fresh cotter pin. For the specific torque specs for your vehicle, always refer to the service manual.
NEVER reuse a torque-to-yield steering shaft bolt. Once that bolt has been stretched on initial install, it loses clamp load on a second torque. A steering shaft that backs off mid-drive is a complete loss of steering control.
How Long Does It Actually Take?
At a shop, a rack replacement runs 4 to 8 hours of labor on most passenger cars. Tight engine bays and seized hardware add time. A DIY mechanic with basic tools should plan a full Saturday (8-10 hours) for the first time through, plus a same-day or next-day alignment at a shop.
Common Mistakes to Avoid
Avoiding common mistakes ensures proper steering performance and prevents additional repairs.
Common mistakes include:
- Damaging tie rod threads
Threads can be damaged by inappropriate removal tools, necessitating additional parts. - Incorrect steering alignment
A crooked steering wheel can be caused by improper component placement. - Forgetting to bleed the power steering system
Poor steering assistance and noise might be caused by air in the system.
According to actual experience, one of the most frequent problems following replacement is an off-center steering wheel, which is typically caused by incorrect tie rod adjustment or rack placement.
FAQs
Do you need an alignment after rack replacement?
A wheel alignment is required after replacing a rack and pinion. Removing steering components changes alignment angles, which must be adjusted to guarantee optimal handling and tire wear.
Can you replace a rack and pinion yourself?
You can replace a rack and pinion yourself if you have the right tools and mechanical experience. Tight access and the requirement for exact installation, however, might make the task difficult.
How long does rack replacement take?
Rack and pinion replacement typically takes 4 to 8 hours. The vehicle and the ease of access to the rack assembly determine the precise time.
What tools are required for rack replacement?
Rack replacement requires basic tools like a socket set, jack stands, a tie rod puller, and a torque wrench. These tools guarantee correct installation and safe removal.