Key Points to Review:
- Removing a wheel bearing without a hydraulic press
- Tools that can be used as alternatives to a shop press
- Step-by-step methods DIY mechanics commonly use
- Risks involved when removing bearings without proper equipment
- When it’s safer to use a professional press instead
Let’s walk through the process clearly.
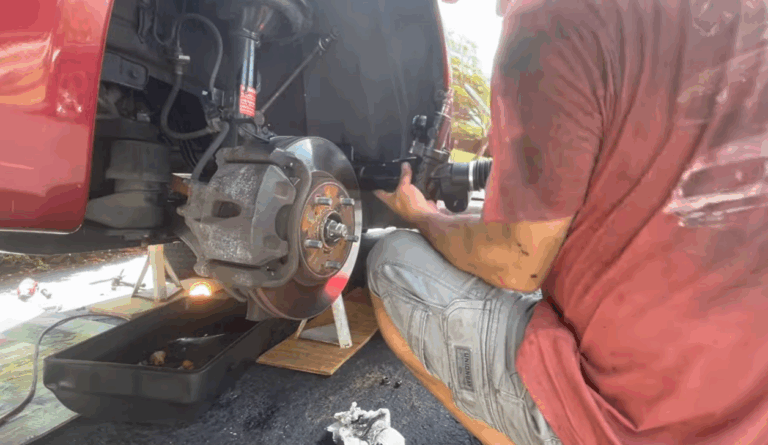
Step 1: Remove the Wheel and Brakes
- Lift and safely support the vehicle
- Remove the wheel
- Remove the brake caliper and bracket
- Remove the brake rotor
To prevent the caliper from hanging by the brake hose, always fasten it.
Step 2: Disconnect the ABS Sensor
If your hub includes an ABS sensor:
- Locate and disconnect the sensor wiring
- Carefully unclip it from the knuckle
After installation, a warning light may appear if the sensor is damaged.
Step 3: Remove the Axle Nut
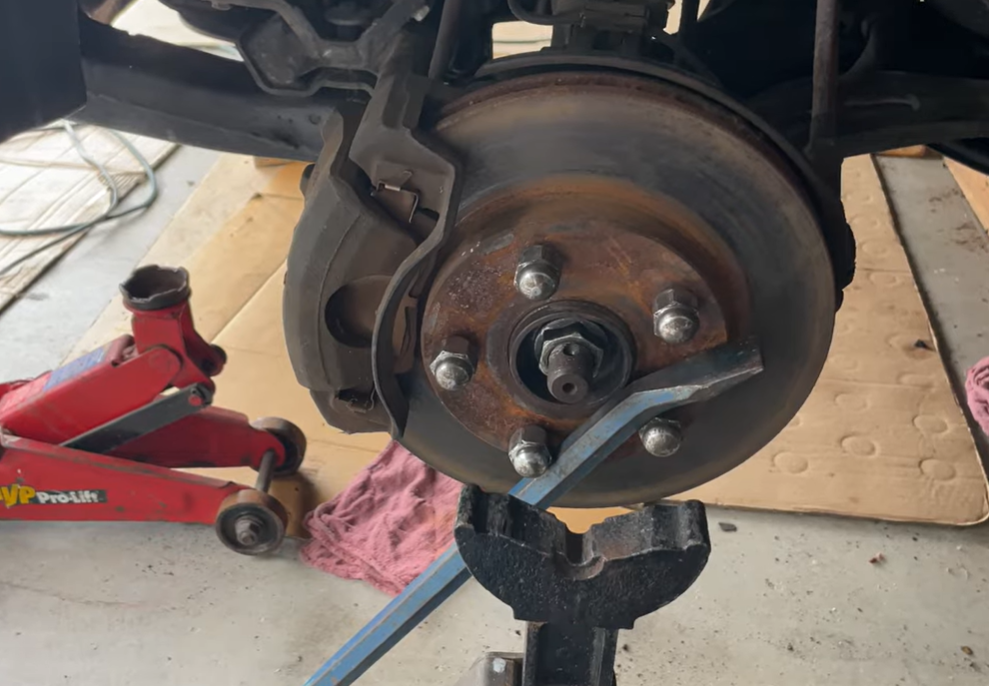
- Loosen and remove the axle nut
- Push the axle slightly inward to free it from the hub splines
Because axle nuts are tightly torqued, a breaker bar can be necessary.
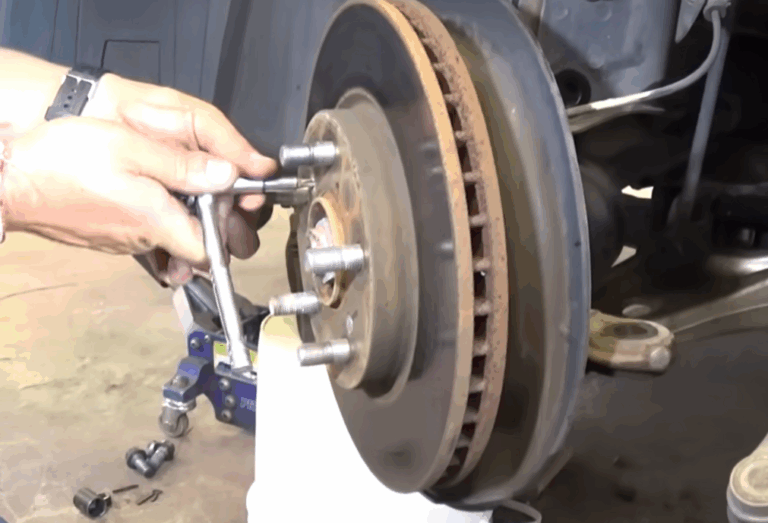
Step 4: Use a Slide Hammer or Bearing Puller
If it’s a bolt-on hub assembly:
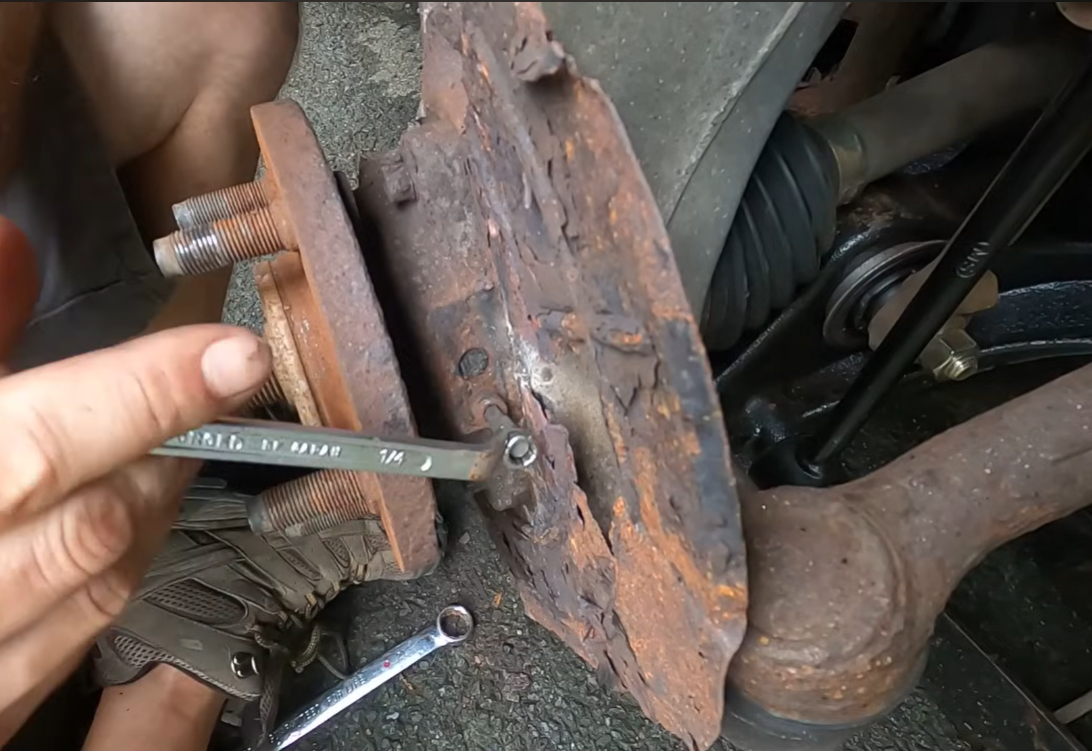
- Remove the mounting bolts behind the knuckle
- Attach the slide hammer to the hub flange
- Use firm, repeated impacts to pull the assembly free
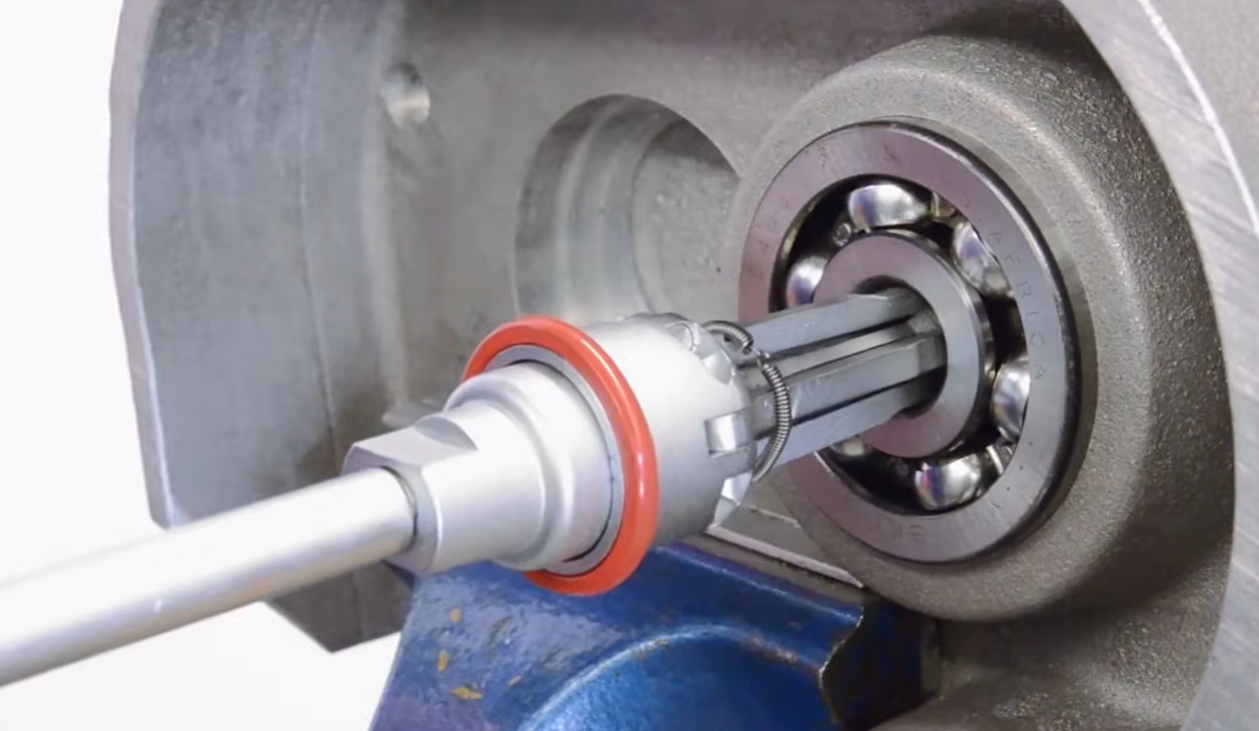
If it’s a press-in bearing:
- Install the bearing puller kit
- Tighten the threaded rod gradually
- Extract the bearing using controlled force
To avoid harm, do not strike the knuckle excessively.
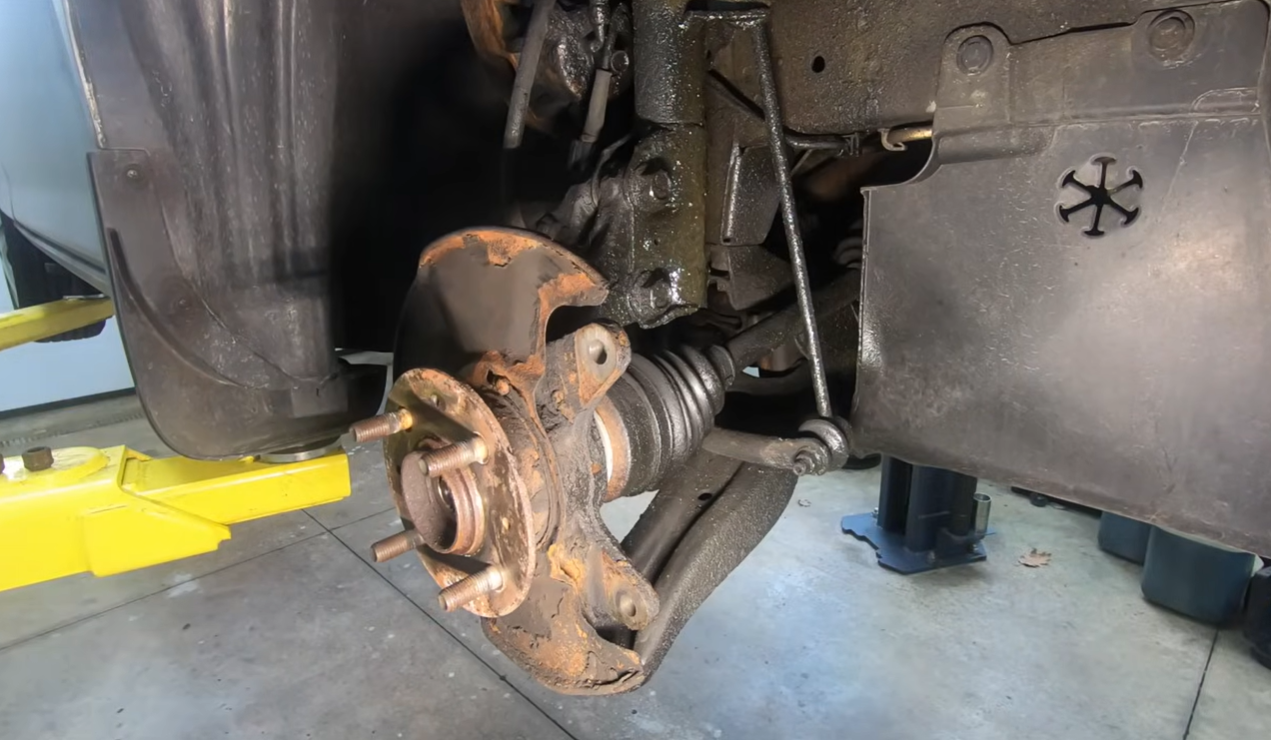
Step 5: Clean the Housing

Once removed:
- Clean the mounting surface thoroughly
- Remove rust and corrosion
- Ensure the bore is smooth before installing the new bearing
Misalignment and early failure are avoided with proper cleaning.
Repeat wheel bearing failures are often traced back to improper surface preparation rather than a faulty part. Even small amounts of corrosion or debris can prevent the new wheel bearing from sitting flush, which places uneven stress on the assembly.
Our recommendation: take a few extra minutes to properly wire-brush and clean the surface before installation. It can dramatically extend the life of your new bearing.
After cleaning, make sure the new unit is installed squarely and torqued to manufacturer specifications by following our complete wheel bearing replacement guide.
Risks and Precautions
If done incorrectly, removing a bearing without a press might be dangerous.
1. Damage to the Steering Knuckle
The knuckle may become cracked or distorted by excessive hammering.
2. Misalignment
Improper extraction can distort the bore, causing premature bearing failure.
3. Safety Concerns
Injuries can result from improper usage of impact tools. Never rely alone on a jack; always utilize jack supports and wear eye protection.
When You Should Use a Shop Press Instead
Short Answer:
A hydraulic press is the safest and most dependable way to remove a bearing that is highly corroded or deeply jammed into the steering knuckle.
Use a shop press when:
- The bearing is fully seated inside the knuckle
- Corrosion has seized the assembly
- The puller kit cannot generate sufficient force
- The knuckle must be removed for proper alignment
Sometimes it’s quicker to remove the knuckle and avoid expensive damage by employing a professional press. Our DA expert advice: if the bearing does not move evenly or requires excessive force, stop and reassess. In many cases, removing the knuckle and using a professional hydraulic press is faster, safer, and ultimately more cost-effective than risking damage to critical suspension components.
FAQs
Is it safe to hammer out a wheel bearing?
Although hammering is risky, it can be effective in some circumstances. The steering knuckle may sustain damage or the bearing seat may become distorted if the incorrect place is struck. In general, controlled force with a puller kit or slide hammer is safer than direct impact with a regular hammer.
What is the easiest way to remove a stuck wheel bearing?
A sliding hammer is frequently the simplest option for bolt-on hub assemblies. A bearing puller kit lowers the possibility of harming nearby components and offers consistent mechanical power for press-in bearings.
Can heat help loosen a seized bearing?
Heat can help dissolve corrosion bonds by gently expanding the metal. To prevent harming adjacent seals, ABS wire, or suspension parts, it must be applied carefully. Generally speaking, controlled mechanical force is safer.
What tools can replace a hydraulic press for bearing removal?
The most popular substitutes are a bearing puller kit and a sliding hammer. With the use of these tools, you can release the bearing using impact or threaded force without taking out the knuckle for pressing.